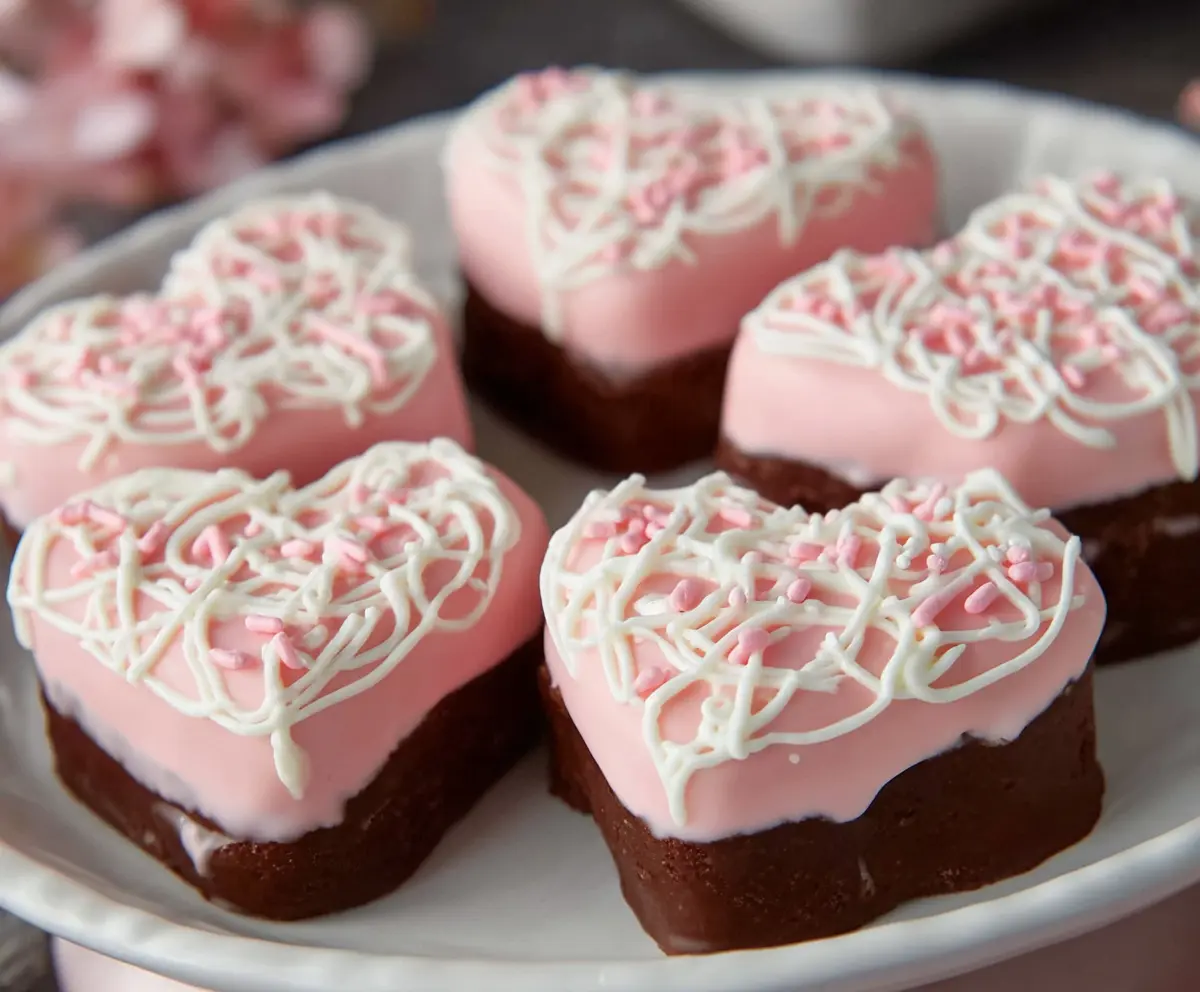
Copycat Little Debbie Valentines Cakes bring back all the sweet memories of those pink, fluffy, and fun little cakes with the cute heart decorations. These treats are soft, spongy, and just the right amount of sugary with a creamy filling that makes every bite feel like a little celebration. They’re perfect for sharing a bit of love any time you want, not just on Valentine’s Day.
I love making these at home because it means I get to eat as many as I want without worrying about running out! Plus, baking them yourself means you can tweak the sweetness and add your own spin, like extra sprinkles or a splash of vanilla in the frosting. It’s a fun way to remind yourself of those special store-bought cakes, but better in that homemade way.
The best way I like to enjoy these cakes is simply with a glass of cold milk or a cup of tea, and sometimes I even freeze a couple for a cold, spongy treat later on. They’re such a cheerful and sweet little cake that they make any day feel a bit more special. If you grew up loving those Valentines Cakes too, this recipe will bring that nostalgic smile right back to your face.
Key Ingredients & Substitutions
Flour & Cocoa Powder: All-purpose flour gives the cake a nice structure. You can substitute with gluten-free flour blends if needed. Use unsweetened cocoa powder for a rich chocolate flavor—Dutch-processed cocoa works too for a milder taste.
Butter: Butter adds richness and moisture. You can swap for margarine or a dairy-free butter if you prefer, but the taste may change slightly.
Milk: Milk makes the cake tender. Any milk like almond or oat can work for a dairy-free version, keeping the texture soft.
Powdered Sugar: This sweetens both the filling and icing and gives a smooth texture. Make sure to sift it before mixing to avoid lumps.
Food Coloring & Decorations: Use gel food coloring—it won’t thin out your icing. Pink sprinkles and white chocolate drizzle make it look fun and festive, but you can use any color or kind of sprinkles you like.
How Do You Get the Cake Layers Soft and the Filling Fluffy?
Soft cake and fluffy filling are the heart of these Valentines Cakes. Here’s how to nail it every time:
- Mix Evenly: Cream butter and sugar together well until light and fluffy before adding other ingredients. This traps air and creates a tender crumb.
- Alternate Wet and Dry Ingredients: When adding milk and dry ingredients, alternate and mix gently. Overmixing can toughen the cake.
- Cool Completely: Let your cake cool entirely before adding the cream filling. Warm cake melts the filling and can make your cakes soggy.
- Beat Filling Well: Cream the butter until smooth, then add powdered sugar slowly. Beat well to create a fluffy, smooth filling that’s easy to spread.
Equipment You’ll Need
- 8×8 inch baking pan – perfect size to bake the cake evenly and make cutting heart shapes easier.
- Heart-shaped cookie cutter – helps you get those fun, classic Valentine’s heart shapes quickly.
- Mixing bowls – you’ll need a few for the cake, filling, and icing; having separate bowls keeps things organized.
- Electric mixer or hand whisk – makes beating butter and sugar smooth and fluffy much faster than by hand.
- Wire rack – lets the cakes cool completely and helps the icing set without sticking.
- Spoons or spatulas – for spreading the cream filling and icing smoothly.
- Piping bag or small spoon – great for drizzling white chocolate or candy melts in pretty designs.
Flavor Variations & Add-Ins
- Swap cocoa powder for espresso powder – adds a subtle coffee kick that boosts chocolate flavor.
- Use cream cheese in the filling – gives a tangy twist that balances the sweet pink icing beautifully.
- Add fresh or frozen raspberries inside the filling – for a fruity surprise and natural pink color.
- Try white chocolate chips in the cake batter – adds sweet bursts of flavor and a fun texture contrast.
Copycat Little Debbie Valentines Cakes
Ingredients You’ll Need:
For the Chocolate Cake Base:
- 1 cup all-purpose flour
- 1/4 cup unsweetened cocoa powder
- 1 tsp baking powder
- 1/4 tsp salt
- 1/2 cup granulated sugar
- 1/4 cup unsalted butter, softened
- 1 large egg
- 1/2 cup milk
- 1 tsp vanilla extract
For the Cream Filling:
- 1/4 cup unsalted butter, softened
- 1 1/4 cups powdered sugar
- 2 tbsp milk
- 1 tsp vanilla extract
For the Pink Icing Coating:
- 2 cups powdered sugar
- 2–3 tbsp milk
- 1/2 tsp vanilla extract
- Pink food coloring
For Decoration:
- White chocolate or white candy melts (for drizzle)
- Pink sprinkles
How Much Time Will You Need?
This recipe takes about 15 minutes to prepare. Baking the cake will take 20-25 minutes, plus cooling time of around 30 minutes. Decorating and chilling the cakes will take another 20 minutes, so overall plan for about 1 hour and 30 minutes from start to finish.
Step-by-Step Instructions:
1. Make the Chocolate Cake Base:
Preheat your oven to 350°F (175°C). Grease and flour an 8×8-inch baking pan. In a medium bowl, sift together the flour, cocoa powder, baking powder, and salt. In another large bowl, cream together softened butter and sugar until nice and fluffy. Beat in the egg and vanilla extract.
Now, add the dry ingredients and the milk alternately to the butter mixture, starting and ending with the dry ingredients. Mix just until combined—don’t overmix! Pour the batter into the prepared pan and spread it out evenly. Bake for around 20-25 minutes, or until a toothpick inserted into the center comes out clean.
Remove from the oven and let the cake cool completely before moving on.
2. Prepare the Cream Filling:
Beat the softened butter in a bowl until smooth. Gradually add the powdered sugar while continuing to beat. Pour in the milk and vanilla extract and beat everything together until the filling is light and fluffy.
Spread this cream filling evenly over the cooled chocolate cake in the pan. Then, use a heart-shaped cookie cutter to cut out your cake hearts. Carefully set these aside for decorating.
3. Make the Pink Icing:
In a bowl, mix together the powdered sugar, milk (starting with 2 tablespoons), and vanilla extract until smooth. Add pink food coloring little by little until you reach your desired shade. The icing should be thick yet pourable.
4. Coat the Cakes:
Dip the top of each heart-shaped cake into the pink icing, covering the cream filling and the cake’s top. Place the cakes on a wire rack to allow the icing to set properly.
5. Decorate:
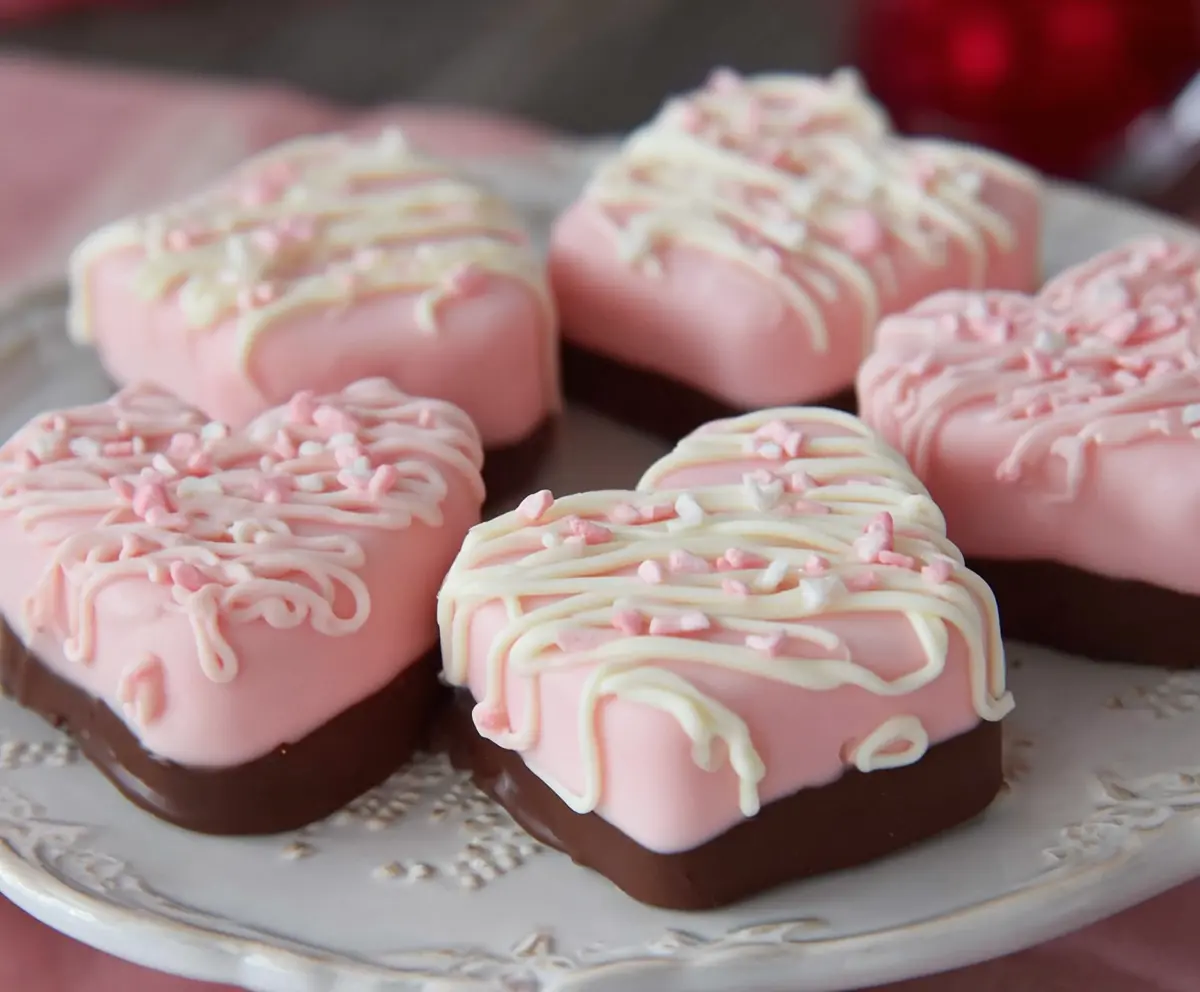
Melt white chocolate or white candy melts according to package instructions. Use a spoon or piping bag to drizzle white chocolate across the pink icing on each cake. While the drizzle is still wet, sprinkle pink sprinkles over the top for a cute festive look.
6. Chill and Serve:
Place the decorated cakes in the fridge for 15-20 minutes to let the icing firm up. Once set, serve your homemade Valentines Cakes chilled or at room temperature and enjoy the sweet, nostalgic treat!
Can I Use Frozen Cake for This Recipe?
Yes! If you have leftover chocolate cake or want to prep ahead, freeze the baked cake fully cooled. When ready, thaw it in the fridge overnight before adding the cream filling and decorating.
How Long Can I Store These Valentines Cakes?
Store the finished cakes in an airtight container in the refrigerator for up to 3 days. Let them come to room temperature before serving for the best flavor and texture.
What Can I Substitute for Butter in the Filling?
You can use margarine or a dairy-free butter alternative if you want a vegan or dairy-free option. The texture may be slightly different but still tasty and creamy.
How Do I Make the Pink Icing Thicker or Thinner?
To thicken the icing, add a little more powdered sugar, a tablespoon at a time. To thin it out, add milk drop by drop until you get the perfect consistency for dipping and coating your cakes.